The Basics Of Hanging Drywall

Hanging drywall is a skill you need to master if you want to tackle some challenging DIY projects at home. When you know how to hang drywall, you can start building rooms. Hanging drywall is a challenging skill, but it is one that you can master with a little bit of practice. Read on to learn the basics of hanging drywall.

Drywall allows you to finish off rooms and build walls. You screw the drywall into the studs to form the walls, and you can then finish and paint them. The first place to start is with buying the drywall. You want to make sure that you have enough drywall for the job, so you need to take the time to take careful measurements.

If you are new to working with drywall, keep in mind that the sheets can be bulky and hard to work with so you should buy the smallest sheets possible. The way you store and transport the sheets is important as well. The corners of drywall are fragile and the break easily. It is also easy to warp the drywall if you don’t store it flat, so make sure you keep it flat.

Once you get the drywall home, you are going to want to start getting your tools together. You will need a drywall drill, drywall screws, a utility knife, and a T-square for measuring. You want to start your project by removing all the old drywall, so the studs and joists are exposed. You will be screwing the new drywall into the joists, so it is important to get all the drywall off, so the joists are exposed.

Once the drywall is off, you remove the nails and screws that are in the studs and then you can start hanging the drywall. At this stage, the proper measuring and cutting of the drywall are crucial. You want to make sure each piece will fit in the center of the stud. Make sure you sand all the cuts, so they are smooth. Another helpful hint is to glue the drywall to the studs in addition to screwing it in. This will make a stronger bond.

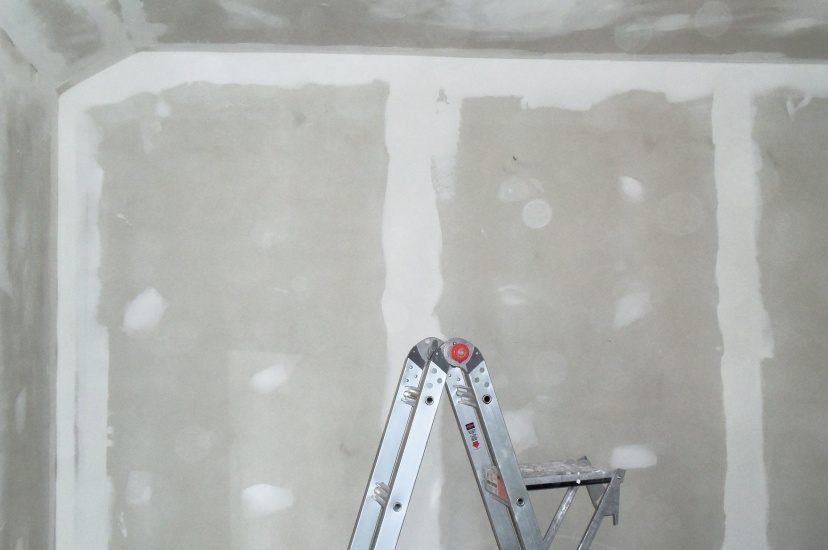
Start with the ceiling first and then work your way down to the walls. You can have small gaps between pieces because they will be filled later. With a little practice, hanging drywall will become easy.

Drywall Tools – What You Need To Know

Preparation for installation of drywall involves a lot more than ensuring that you make the right choice in the type of drywall and some sheets you will be needing. You also have to make sure that you have all the required tools for the situation at hand.

Successful drywalling relies upon you having all the required tools. There are those tools that have been designed specifically for drywalling. However, most of the basic tools that you will require are not unique to drywalling. Some tools such as a tape measure framing square, T-square, pencil, and chalk line will be required regardless of the size of the space or the height of the ceiling. You will also require the assistance of drywall screws, mixing tools, sanding tools, and taping knives.

An example of a drywall tool is the drywall saw. This is a saw designed to rip through both the paper face and the gypsum core of the drywall. It is a very efficient tool used specifically for cutting drywall. It has a sharp point at the edge which you may use to break the material before cutting through it.

Just like there is a drywall saw, there is a drywall hammer. This hammer is unlike other conventional hammers. It has a gently tapered head that is used to create a natural recess for the joint compound. Once the hammer strikes the surface of the paper face, it creates a waffle contour that helps ensure the compound is locked.

In most cases, you will also find yourself using the drywall screw gun. The screw gun has a clutch installed in it so that the screw will be driven just underneath the surface of the sheet. In case you want to cut through the paper face of the drywall, for instance, to secure the panel before proceeding to snap it to length. Ensure that your blade is always sharp.

You will also find a variety of screws and nails for drywall installation. Drywall screws are usually a preferable method since they provide the user with a secure and durable connection. If the job is extensive, then you can have a self-feeding screw gun to make things faster.

Since you are dealing with walls, after all, you will need mixing tools too. You need them to fill nail holes and gaps with joint compound and also secure tape. You can choose to mix the compounds by hand or just a powered paddle.

Best Drywall Mud

100_1284

Finding the best drywall mud is not so easy. There are literally thousands of different muds available on the internet and on the stores. I have to say that they are all “good” and you don’t need any expensive stuff to hang your drywall. In the 90′s many house workers used common bathroom caulk. They are still holding up the building and no problems have been noticed.

So basically you use every compounds available. If you are a rookie, then just go to the local store and ask for “drywall compound” or “drywall mud”. I’m more than sure that they have plenty of different products. It’s not very expensive so you should not worry about the money. The second way is just surf on the internet and look for different muds/compounds. Furthermore, you can go to amazon and ebay and look for the right product. Good luck!

Tips for Drywall

Here I will point out the most common drywall tips which you should do before repairing drywall. You don’t have to follow them, but those tips will make your work much easier and faster. So let me start…

1) Cover doorways and get people out of the room.

Drywall hanging is quite dusty job, so please make sure that you cover all the doorways and clean the room (remove furniture and expensive stuff). Furthermore, try to get other people out of the room, because dust is not healthy when it comes to your lounges.

2) Wear the right clothes…

…because of the dust. Don’t do this work with your everyday clothes. I’m more than sure that you will find some aged or broken clothes which are exactly used for this kind of work. After all, you don’t want to upset your husband. (He will wash your clothes anyway)

3) Use screws instead of nails

Maybe you have seen some professional drywall hanger who uses nails, but this is not the right thing for an amateur. Use screws instead of nails, since they are more secure and they will not pop out of the wall. Maybe you have screwdriver, that’s even better.

4) Right tools for repairing drywall

You better get or buy the right tools before starting this work. I would suggest you to get “drywall jack” or dimpler that is attached to your drill and it makes your work more easier and you will get the better quality.

5) Follow the instructions

If you are following my instructions then you don’t have to worry about doing something wrong. You can also check some other sites as well in order to be completely sure that you are doing it right.

That’s all about the tips. I hope you really learned something about it. Good luck with your drywall repairing.